The advantage of the Nummax Manager AIO cloud version is all the advanced programming you can apply to your Nummax terminal.
To manage your content in the schedule, the best way to proceed is to create playlists with specific content.
For example, you can have a playlist with your open hours, one with your health procedures, some with your last promotions and so on (which is easier to find and update over time).
1. Upload your medias
Click on Media on the left menu
You will access the storage area for your images and videos.
Most of the images and videos formats are compatible with Nummax Manager AIO (.jpg, .png, .bmp, animated .gif, .mp4, .avi, .mov,…)
I suggest you to organise the storage library with folders. Depending on your marketing management strategy, you can create folders by branch, location, terminal type, message type, time of the year,…
Then click on the upload tab on the top and drag and drop your files in the browser
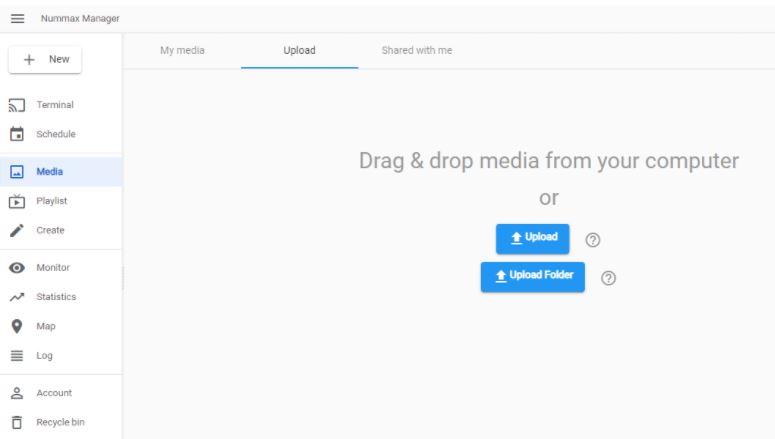
Watch our training video for more information
2. Create a playlist
A playlist is a group of sequences.
A sequence is a screen page displayed during a certain period of time.
In a sequence (screen page), you can show different elements at the same time like a slide show and your local weather with a scrolling title.
Here is an example of sequence displayed during 15 seconds

You can put as many sequences you want in a playlist but we recommend to keep your playlist focused on one topic. You will have more freedom in the schedule programming.
Click on Create on the left menu
you will access the creation area.
Make sure to give a relevant name and set the pixel size to your full screen terminal size.
![]()
The black rectangle represents your screen page as a sequence. You can zoom in or out the working area.
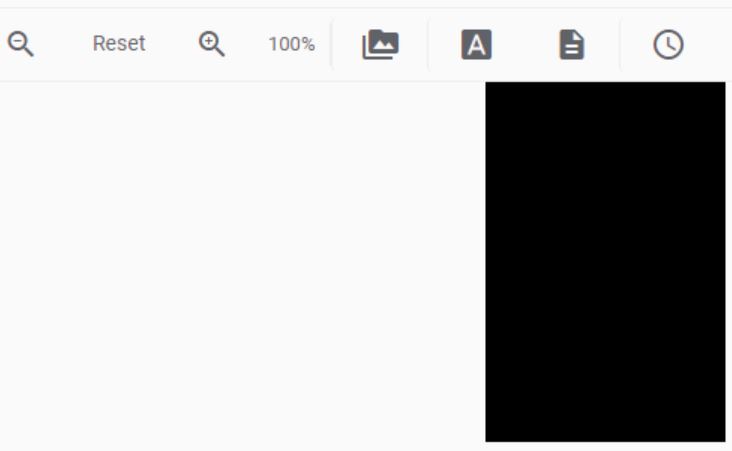
Inside this area you can add any elements from the icon on the top.
To find the full details on how to use each of these pieces of content, read our complete software documentation.

But here are the main elements you will find (from left to right)
- Image and videos: Used to display an image or a video but also to create slideshows
- Title: Display one line of text (title) horizontal scrolling or not
- Paragraph: Display multiline text vertical scrolling or not
- Date and time: This feature uses your terminal internal clock
- Weather: Just input your location (requires your terminal to be connected the internet)
- Web: Display a specific URL or upload a local HTML file with your content. Any URL displayed will be real size (from top left screen origin) or adapted to your terminal pixel width like on a cellphone
- RSS feed: Input the RSS feed URL and choose the scrolling information from the feed
- Environment: Show data coming from your terminal sensors if it is equipped with (mainly for outdoor displays)
- Sync Play: This is the same feature than the image & video icon but it is meant to be used for terminal synchronisation. Read the complete sync chapter in our software documentation
- Countdown: Set a deadline date or time and the countdown will automatically display remaining time based on the terminal internal clock
To add any additional sequence (screen page) click on the Plus button on the left.
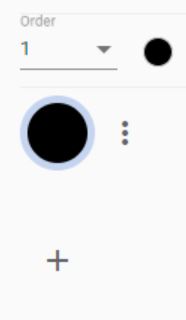
You will be able to create another sequence.
Once you’re done, you can preview your work by clicking preview on the top right corner.
3. Save as a template (optional)
If you have created a playlist mockup, you might want to reuse it instead of rebuilding it each time.
In the Save dropdown menu, click on Save as a template.
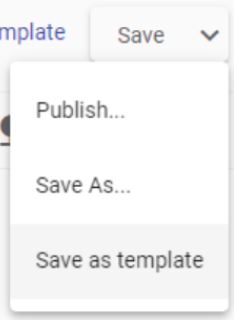
It is now very easy to reuse this template. When you create a new playlist, set the name and display size, then you can click on Load Template.

You will select the template and it will open in the new playlist all the mockup with the content elements.
You can change each element and save your new playlist.
Please note that if you delete the source template, it will not delete your new playlist.
4. Save your playlist
Just click on Save and your playlist will be saved with its actual name or, you can click on the Save dropdown menu and Save as to give a new name.
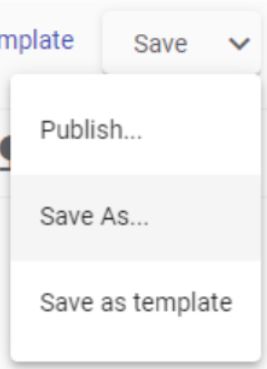
The software will automatically switch the playlist library.
Any playlist selected can be previewed, deleted, edited, scheduled or published.
If you click on the Info icon top right, it will open an information pane where you can see the terminal (groups) assigned with this playlist and the content medias inside the montage.

Now your done. You will now have to program this playlist in the schedule.


